Page 9 of 28
Re: Seat and Hood Restoration
Posted: Tue Jul 09, 2013 4:25 am
by pickerandsinger
[quote][/quote]Rob in NH wrote:
i use a filler that i sand in 15 minutes and doesn't load up the paper. i would look into a different filler
Hi Rob, I googled Fusion by USC and got all kinds of surgery fusions and the University of California.....Any other info you could share to make checking the product out easier....Dave
Re: Seat and Hood Restoration
Posted: Tue Jul 09, 2013 6:00 am
by PVF1799
pickerandsinger wrote:
Rob in NH wrote:
i use a filler that i sand in 15 minutes and doesn't load up the paper. i would look into a different filler
Hi Rob, I googled Fusion by USC and got all kinds of surgery fusions and the University of California.....Any other info you could share to make checking the product out easier....Dave
I searched Fusion Body Filler and got this right away
http://www.autobodytoolmart.com/usc-fuzion-lightweight-autobody-filler-16000-p-15718.aspxKen
Re: Seat and Hood Restoration - Now w/Pics
Posted: Wed Jul 10, 2013 5:18 am
by pickerandsinger
Thanks Ken
Re: Seat and Hood Restoration - Now w/Pics
Posted: Wed Jul 10, 2013 6:10 am
by Rob in NH
ken, how is that filler working out for you?
/
Re: Seat and Hood Restoration - Now w/Pics
Posted: Wed Jul 10, 2013 6:47 am
by PVF1799
Rob in NH wrote:ken, how is that filler working out for you?
/
Rob, after much trial and error the filler works good. I dislike the working time having tried varying the amount of hardener I still only have 2-3 minutes before it kicks. The mixture rate is 2%. Also - no matter how I mix it you just can't sand it in 20 minutes like advised on the label.
The 180 grit paper gets little round/flat nodules on it that ruin the paper and the finish. The results are very smooth if you let is cure over night ...
Re: Seat and Hood Restoration - Now w/Pics
Posted: Wed Jul 10, 2013 7:10 am
by Rob in NH
ken, go over the filler with 80 first to get that gummy layer off the use the 180. that should work a lot better for you.
Re: Seat and Hood Restoration - Now w/Pics
Posted: Wed Jul 10, 2013 7:18 am
by outdoors4evr
Ken - The seat and the hood look great. Keep up the good work!
The round "spots" are from uncured filler or burned (melted) paint chunks. Two things you can try to help minimize this.
1) Mix your hardener more thoroughly. Since the ratio of product to hardner is so large, you have to make sure the hardener is thoroughly mixed through the product. (work fast)
2) Lower the air pressure being used in your orbital sander. Every sander has different requirements, but try dropping it down from 100 to 80 or 60 psi. This will have the orbital turning slower, but won't burn paint or gum up the pads as much. This also allows you to take less off per minute and get it "just right" with less applications.
Re: Seat and Hood Restoration - Now w/Pics
Posted: Wed Jul 10, 2013 7:34 am
by PVF1799
outdoors4evr wrote:Ken - The seat and the hood look great. Keep up the good work!
The round "spots" are from uncured filler or burned (melted) paint chunks. Two things you can try to help minimize this.
1) Mix your hardener more thoroughly. Since the ratio of product to hardner is so large, you have to make sure the hardener is thoroughly mixed through the product. (work fast)
2) Lower the air pressure being used in your orbital sander. Every sander has different requirements, but try dropping it down from 100 to 80 or 60 psi. This will have the orbital turning slower, but won't burn paint or gum up the pads as much. This also allows you to take less off per minute and get it "just right" with less applications.
Thanks for this advice - Both my 3" and 6" DA Sanders have airflow adjustments and I have found a combination of pressure on the surface and speed makes a difference. Clearly, one has to be careful about building any heat from the sanding process in any one area - else the nodules form.
I'll keep at it with all the sound advice I'm receiving here. Thanks so much
Re: Seat and Hood Restoration - Now w/Pics
Posted: Wed Jul 10, 2013 7:36 am
by PVF1799
Rob in NH wrote:ken, go over the filler with 80 first to get that gummy layer off the use the 180. that should work a lot better for you.
Awesome Rob, I'll do that for the coat I just applied.
Re: Seat and Hood Restoration - Now w/Pics
Posted: Wed Jul 10, 2013 9:28 am
by Smokeycub
Looking good Ken. It has turned into quite the process. You should end up with a pretty and shiny Cub. If you posted this, I missed it - are you planning a show tractor or a working Cub? I can't offer much advise on the bondo question even though part of my career was selling automotive finish systems and much has changed since the 70's in that regard. I can tell you that some automotive finishes can be very durable. DuPont sells (sold) a product called Imron, a polyurethane system that uses a catalyst and is extremely durable and flexible although pretty pricey too. It is impervious to acids, abrasives, and a whole host of things including hammers, lol. Other manufacturers offer similar products and using them requires a high grade carbon filter breathing apparatus. The paint would last longer than your Cub and still look great long after you and I are gone.
Re: Seat and Hood Restoration - Now w/Pics
Posted: Thu Jul 11, 2013 5:02 pm
by Papa's Cub
Bondo or Body filler drying time will vary according to the humidity in your work area. Also, to avoid loading of your sand paper, try using a bondo file first, then sand. You can find them where ever body filler is sold.
Gas Tank Update :-)
Posted: Thu Jul 11, 2013 5:45 pm
by PVF1799
By using all the advice from this forum and a steep learning curve - I've got the gas tank done to my satisfaction.
Thanks everybody!
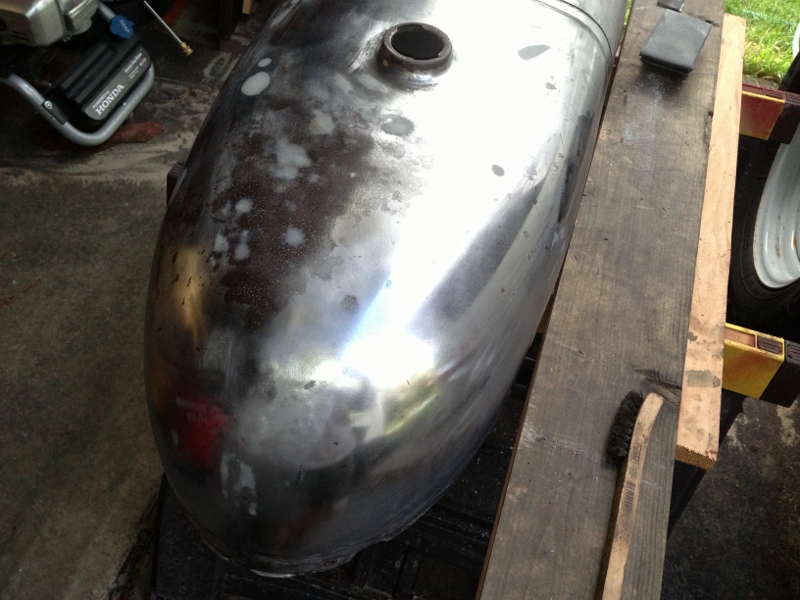
- Gas Tank 1
- IMG_2336 (800x600).jpg (258.74 KiB) Viewed 487 times
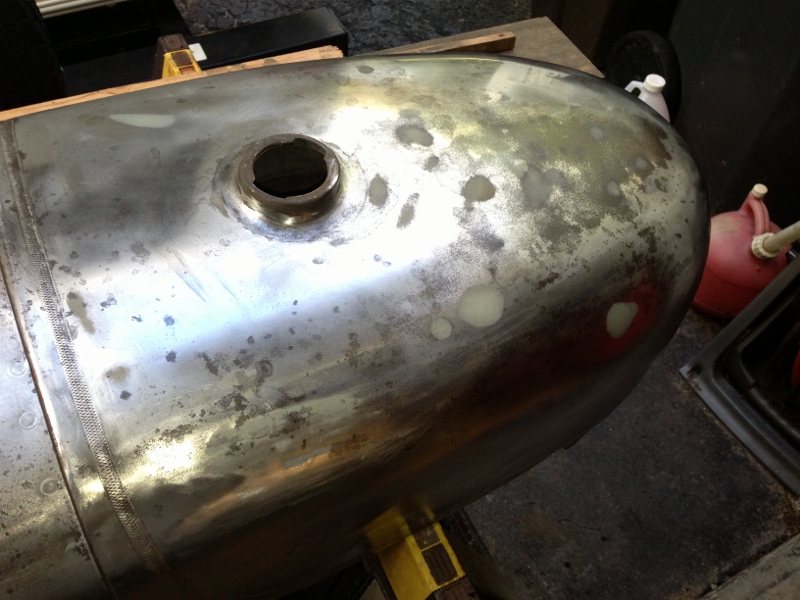
- Gas Tank 2
- IMG_2337 (800x600).jpg (257.41 KiB) Viewed 487 times
Re: Gas Tank Update :-)
Posted: Thu Jul 11, 2013 6:33 pm
by Boss Hog
If you don't treat the remaining rust it will come back through the paint.
Boss
Re: Gas Tank Update :-)
Posted: Thu Jul 11, 2013 6:54 pm
by ricky racer
Looks great!!!!!!

Can't wait to see color on it!!!!

Bent Rock Shaft - Fixed
Posted: Fri Jul 19, 2013 2:10 pm
by PVF1799
Wanted to share this jig system I rigged to straighten the rock shaft w/o putting additional bends in it. This worked well. It's square with the shaft now! - Prime and Paint Next.
It's been a nice day of successes between the bolster screws and getting this straight.

- Rock Shaft Fixed.jpg (259.22 KiB) Viewed 471 times