Page 21 of 28
Re: My Restoration of Rex '48 - #21005
Posted: Thu Jan 02, 2014 10:07 am
by PVF1799
Ol' Rex '48 will not be receiving the refurbished crankshaft that served it so well. It was cleaned and magna-fluxed to find it's cracked in 3 places near the badly worn journals. The machine shop advises this happens when heat is generated from improper alignment due to wear not being corrected to proper tolerances before it's to late. Thanks to a member of this forum, I have a used original condition crank on order from a 1948 Cub.

Happy New Year.
Re: My Restoration of Rex '48 - #21005
Posted: Mon Jan 27, 2014 12:39 pm
by PVF1799
Hi Everyone - Happy Winter.
Here's a brief update.
Ol' Rex 48's crankshaft when magna-fluxed was cracked in 3 places. I was advised that this was most likely caused by side play at the connecting rods. I was lucky enough to obtain a 1948 crank from a member of this forum (TST) that measured in at only 0.001 under factory original. As soon as I can make the time to contact the engine shop with the details the work on the block will begin. My new job, the holidays and the temperature in my shop has slowed my progress. I can admit that w/o the help of this forum I'd not even be this far.
Special thanks to Cecil for his personal efforts on this project. All of you herein deserve accolades for the help and guidance provided.
Best regards, Ken
Re: My Restoration of Rex '48 - #21005
Posted: Sat Mar 22, 2014 9:19 am
by PVF1799
Wow, back at it finally. The shop finally warm enough to sandblast. These rims came with the Goodyear Diamond tires I purchased from Boss Hog. It sure is good to be back doing something. Now all I need is for a bit more time in my home office to speak with Cecil and get my engine sorted.
These rims and tires will be the pretty show wheels for Rex....At least I say that now and then I really need to do some farm work and I'll end up using them. In the background of this picture is cultivator shields I'm restoring also.
Oh Happy Day - Ken
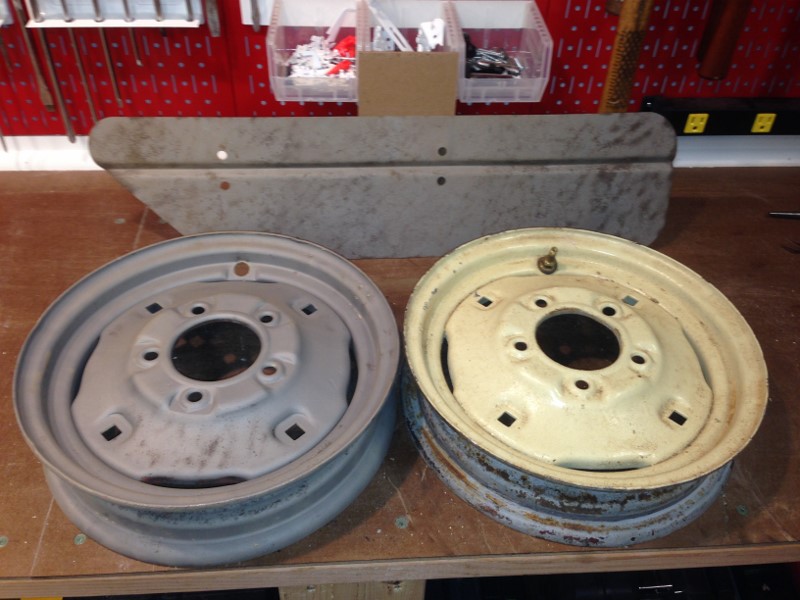
- One Down - One to Go.
- IMG_3151 (800x600).jpg (110.5 KiB) Viewed 554 times
Re: My Restoration of Rex '48 - #21005
Posted: Sat Mar 22, 2014 5:00 pm
by RogerW
On the rings, End gap is what is important. The rings are sized to the cylinder diameter, and contact the cylinder wall to seal, and the end gap is there to keep them from getting too tight when the get hot and expand.
Re: My Restoration of Rex '48 - #21005
Posted: Mon Apr 14, 2014 6:40 pm
by PVF1799
Rear Rims - Howdy there - Well guess what - I actually got a chance to do something on Rex' 48 this evening after work. I tried all different kinds of mechanical tools to clean the oxide off the rear rims. Wouldn't you know a sponge sanding pad used for sheet rock sanding did a nice job. I'm gonna add to my other post on the rear rims with some questions for ya'll.
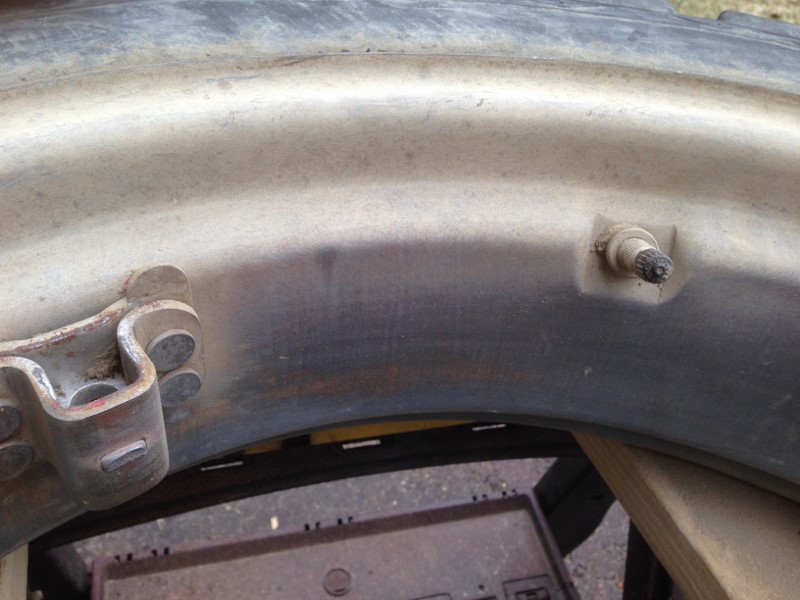
- This is oxide on the rim - you can see the clean part. It actually looks like talc.
- IMG_3250 (800x600).jpg (100.25 KiB) Viewed 444 times
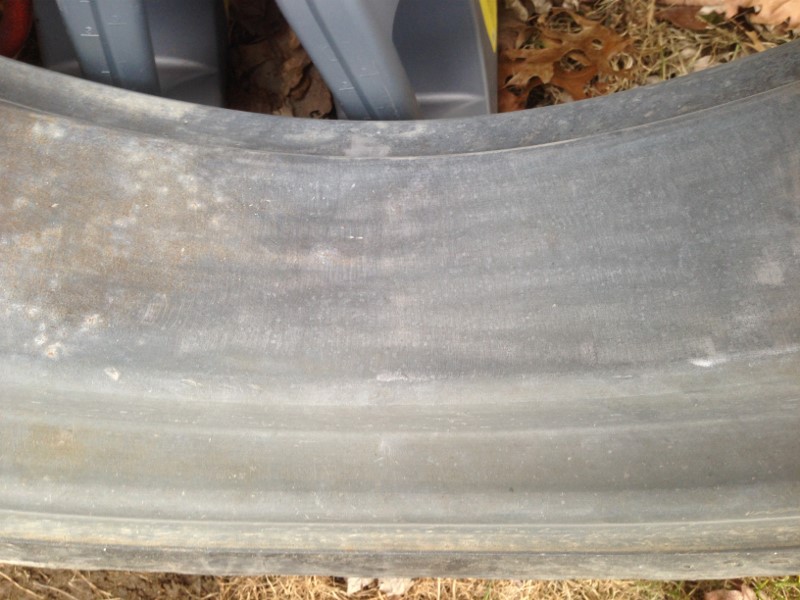
- This one is clean enough for now. Till the tires come off.
- IMG_3249 (800x600).jpg (107.98 KiB) Viewed 444 times

- Another view.
- IMG_3251 (800x600).jpg (105.11 KiB) Viewed 444 times
The pix aren't all that exciting but it shows I will finish ol'Rex'48 at some point.
Re: My Restoration of Rex '48 - #21005
Posted: Mon Apr 14, 2014 8:07 pm
by danovercash
Firestone rims. Wonder date of manufacture? Check inside rim when tires come off.
Re: My Restoration of Rex '48 - #21005
Posted: Mon Apr 14, 2014 8:34 pm
by PVF1799
danovercash wrote:Firestone rims. Wonder date of manufacture? Check inside rim when tires come off.
These rims are off of Princess '55 because I needed to put the Ag Tires on her that were on Rex '48. I will check when I get them off. Thanks for the post.
Re: My Restoration of Rex '48 - #21005
Posted: Wed May 07, 2014 6:42 am
by PVF1799
Good morning all - It sure has been a long winter here in the NE. The weather broke just enough this past weekend for me to tackle the rear wheel weights. When I purchased them last year it was my intention to wire brush them and paint as they were in pretty good shape. Well I looked at ol' Rex'48 in the garage and how every single piece had been stripped and totally done over. I couldn't bring myself to shortcut on the wheel weights. So out came the Aircraft Stripper on nice breezy day outside. Off came all the paint down to bare metal. Tell ya, I worked that putty knife and right angle grinder with wire wheel until I and they were wore out.
Here is the primed result of that effort
- I figure if I can see a reflection in the primer - they ought to look pretty good in red
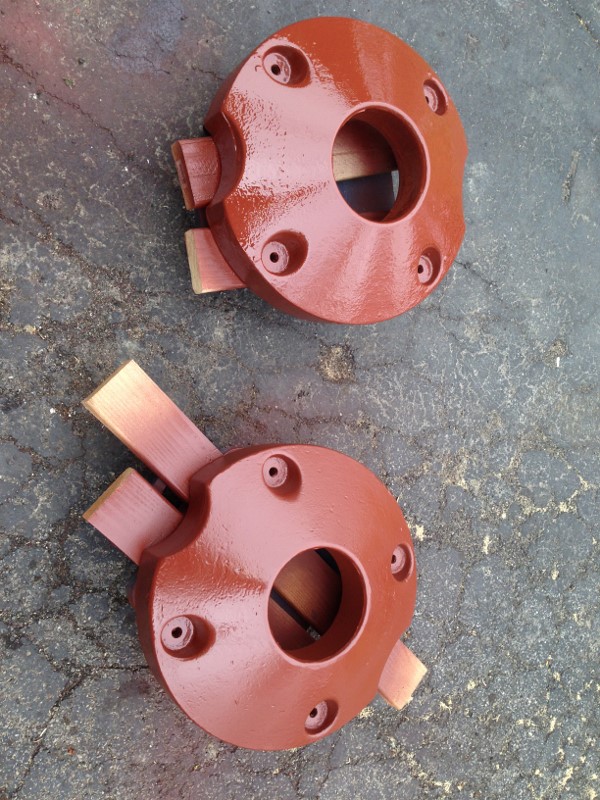
- Wheel Weights 1
- IMG_3289 (600x800).jpg (172.59 KiB) Viewed 315 times
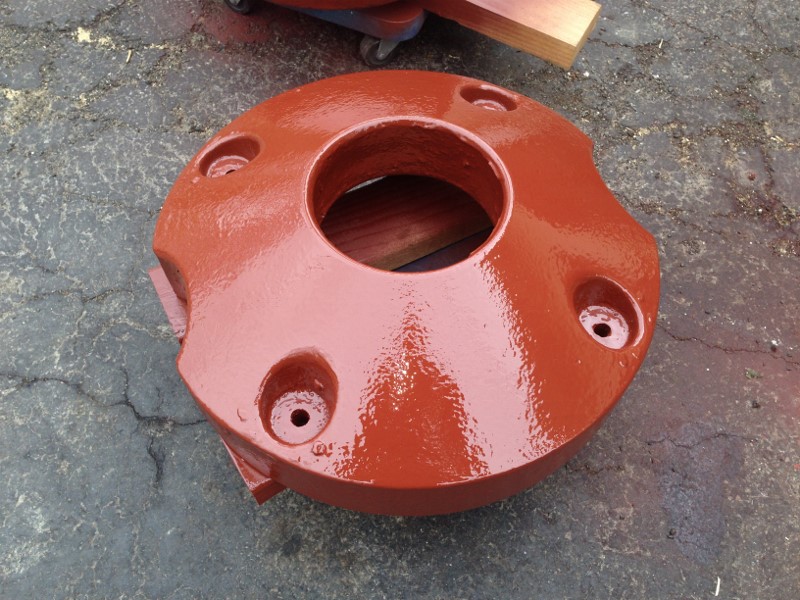
- Wheel Weights 2
- IMG_3290 (800x600).jpg (150.75 KiB) Viewed 315 times
Re: My Restoration of Rex '48 - #21005
Posted: Wed May 07, 2014 8:19 am
by scotlem
Very nice job. The trick is getting them back on with out scratching the paint
Re: My Restoration of Rex '48 - #21005
Posted: Wed May 07, 2014 10:39 am
by PVF1799
scotlem wrote:Very nice job. The trick is getting them back on with out scratching the paint
Here is the way that will be done - With the wheel off of the tractor laying flat on the ground that wheel weight will be picked up and set on the rim - bolted in place - then I will remount the rim on the tractor.
Then I will use a small brush and touch-up and damage that I might have done
Re: My Restoration of Rex '48 - #21005
Posted: Wed May 07, 2014 5:40 pm
by Denny Clayton
PVF1799 wrote:scotlem wrote:Very nice job. The trick is getting them back on with out scratching the paint
Here is the way that will be done -
With the wheel off of the tractor laying flat on the ground that wheel weight will be picked up and set on the rim - bolted in place - then I will remount the rim on the tractor.
Then I will use a small brush and touch-up and damage that I might have done
Ken, lay the weight face down on the floor (properly padded of course), then lay the wheel over the weight and install the bolts and nuts hand tight. You can even elevate the weight with a short 2X6 or thicker if desired so you can reach under the tire with a socket to tighten the nuts even further.
This is how I typically install a single weight any time and then just stand the tire up. I don't do two weights this way!

Re: My Restoration of Rex '48 - #21005
Posted: Wed May 07, 2014 6:24 pm
by Cecil
That's the way I do it Denny. A lot easier for us old guys.
Re: My Restoration of Rex '48 - #21005
Posted: Wed May 07, 2014 7:32 pm
by PVF1799
Cecil wrote:That's the way I do it Denny. A lot easier for us old guys.
I had a real good chuckle when I read Denny's method. I guess I like doing things the hard way

But I will be doing it the Denny - Cecil way going forward....Love this forum
Re: My Restoration of Rex '48 - #21005
Posted: Wed May 07, 2014 7:38 pm
by PVF1799
Cecil wrote:That's the way I do it Denny. A lot easier for us old guys.
So simple - I can't believe I was making it so difficult
I'll do it the smart way going forward -----
Love this forum - even though it can be a bit embarrassing at times
Re: My Restoration of Rex '48 - #21005
Posted: Thu May 08, 2014 12:52 am
by Brendan In NC