A New Dog House
Posted: Thu Dec 23, 2010 12:32 am
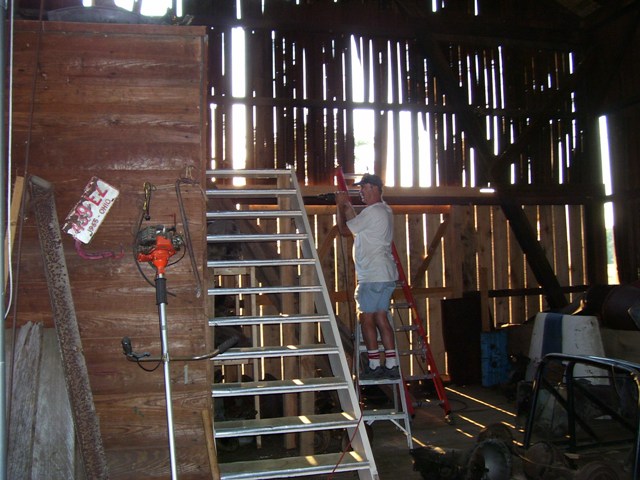
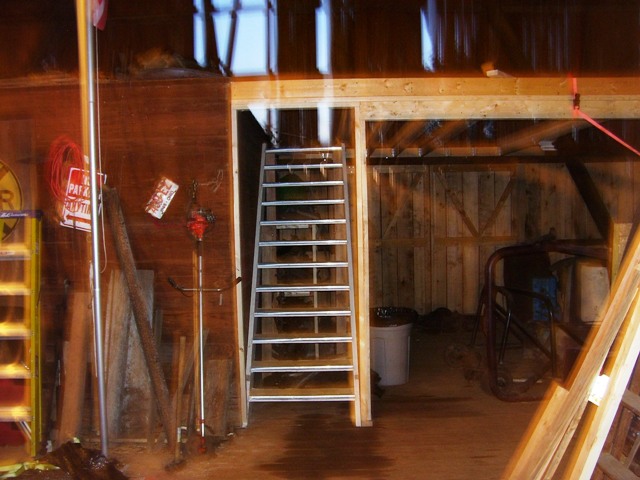
About three years ago a friend of our's and her sisters decided to tear down their old house and build a new, more modern one. Carol told me that I could have anything I wanted from the house as long as I got it before the demo team got to it. I jumped at the opportunity to haul several truck loads of stuff to the barn where it would sit with all the other junk I will probably never use.
The windows were in excellent shape and I figured I could put them to use on my back porch some day. I went to work with a sawsall, pry bar and hammer. after a few hours I had all eight smaller windows and a large bay window loaded on the truck. These sat in the barn until just before Thanksgiving when I finally found time to put them to use.
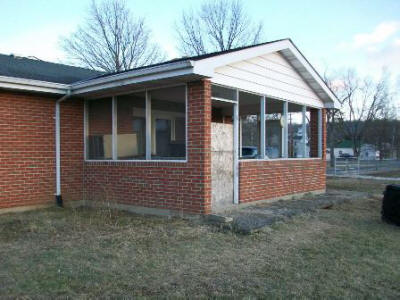
Our porch had been screened and I wanted to enclose it so the dogs would have a warmer place in the winter. Right now they sleep in the barn guarding the Cubs and they seem pretty content at that. We have tried to get them to stay in the house on cold nights, but they head straight to the barn as soon as they get a chance. With the windows and a doggy door they would have their choice of which to use and when.
Step 1: I started by ripping out all the screens the dogs hadn't already destroyed along with the old framing and measured everything a dozen times to make sure it went right. After another dozen measurements I was on a role.
Step 2: The bay window is a bit taller than the opening between the eave and the brick wall so I got my buddy in the concrete business to drop by with his concrete saw. It didn't take him but ten minutes to make a few cuts where I needed them.
Step 3: I then started framing in the openings for the windows. Some spots required manual labor, but most of the framing was done with my trusty air nailer. Those babies are about as safe as an unguarded buzz saw on the back of a Cub.

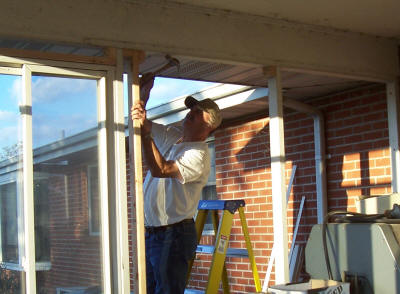
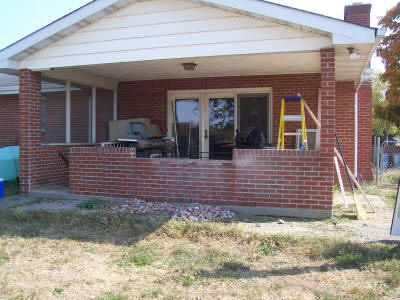
Step 4: I test fit a couple windows to make sure things were on track and was happy to see that my basic measuring skills were paying off. Note that a project this size may require plenty of adult beverages. I was prepared for this by placing a cooler at each end of the job site. Warning: Over use of adult beverages may cause additional measurements to be required (see step 1 above).
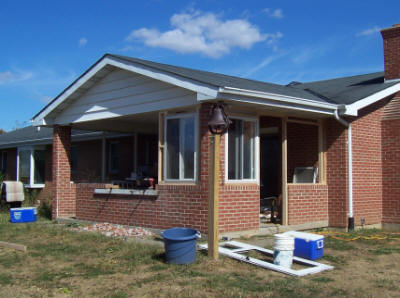
Step 5: Once I was happy that the windows were fitting as planned I installed the remainder of the smaller ones along with the trim and doors. The bay window will require more people than just me to install. With the holidays, as well as the nasty weather, here that will have to wait.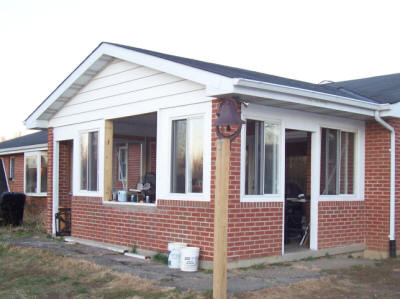
Finale: As soon as we get a little better conditions where I can get to the barn, I will bring the window out and get a few of my buddies to help set it in place, I think the dogs will like it.
The windows were in excellent shape and I figured I could put them to use on my back porch some day. I went to work with a sawsall, pry bar and hammer. after a few hours I had all eight smaller windows and a large bay window loaded on the truck. These sat in the barn until just before Thanksgiving when I finally found time to put them to use.
Our porch had been screened and I wanted to enclose it so the dogs would have a warmer place in the winter. Right now they sleep in the barn guarding the Cubs and they seem pretty content at that. We have tried to get them to stay in the house on cold nights, but they head straight to the barn as soon as they get a chance. With the windows and a doggy door they would have their choice of which to use and when.
Step 1: I started by ripping out all the screens the dogs hadn't already destroyed along with the old framing and measured everything a dozen times to make sure it went right. After another dozen measurements I was on a role.
Step 2: The bay window is a bit taller than the opening between the eave and the brick wall so I got my buddy in the concrete business to drop by with his concrete saw. It didn't take him but ten minutes to make a few cuts where I needed them.
Step 3: I then started framing in the openings for the windows. Some spots required manual labor, but most of the framing was done with my trusty air nailer. Those babies are about as safe as an unguarded buzz saw on the back of a Cub.
Step 4: I test fit a couple windows to make sure things were on track and was happy to see that my basic measuring skills were paying off. Note that a project this size may require plenty of adult beverages. I was prepared for this by placing a cooler at each end of the job site. Warning: Over use of adult beverages may cause additional measurements to be required (see step 1 above).
Step 5: Once I was happy that the windows were fitting as planned I installed the remainder of the smaller ones along with the trim and doors. The bay window will require more people than just me to install. With the holidays, as well as the nasty weather, here that will have to wait.
Finale: As soon as we get a little better conditions where I can get to the barn, I will bring the window out and get a few of my buddies to help set it in place, I think the dogs will like it.
 The dogs are really going to love it as will their masters methinks