
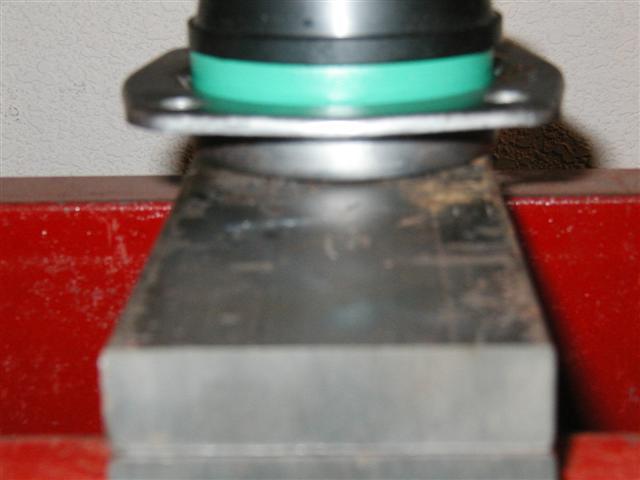
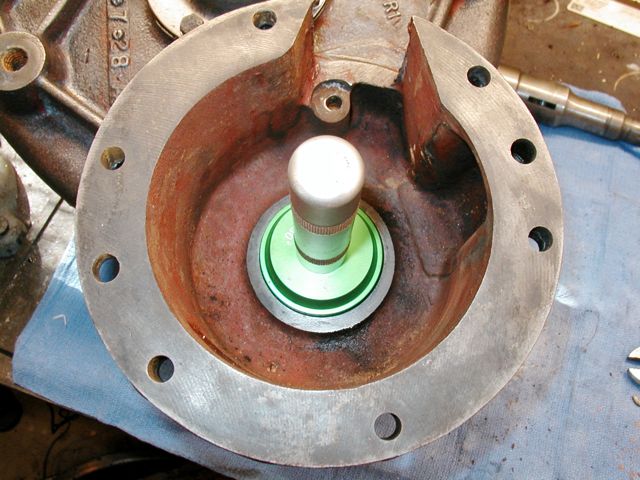
Pressed the outer axle bearing on the axle shaft after installing the seal/retainer unit. Note orientation of the seal retainer.
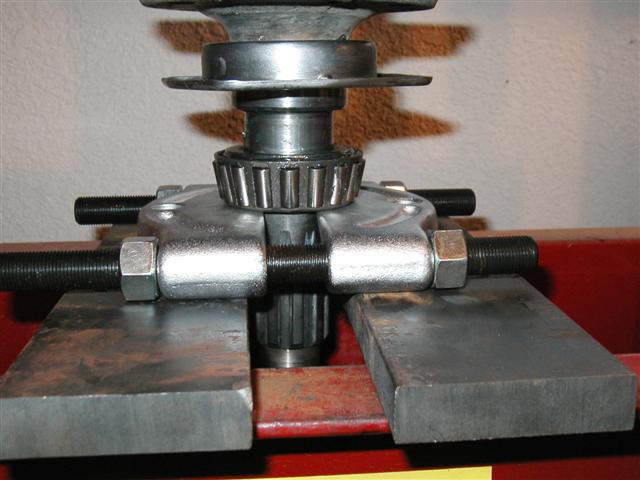
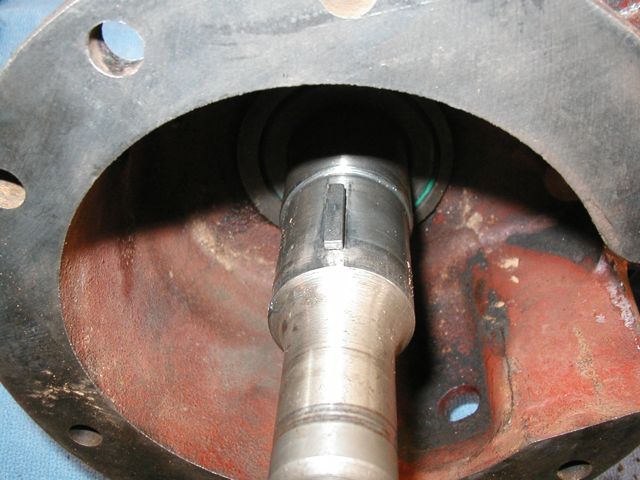
Installed the appropriate spacers,shims,and bull gear and pressed the inner bearing on the axle shaft. Order of installation is: seal retainer gasket, then insert the axle shaft into the final drive unit adding the following as you go: large spacer, bull gear, small spacer, shims and then press on the inner axle bearing. At this point you should check for bearing "preload" (how tight the bearings are running in their races) The TC-37 manual calls for 20 inch pounds of force to rotate the axle. This is done by using a torque wrench that will measure inch pounds of force. Place the wrench on the axle nut and note the amount of torque it takes to rotate the axle. Changing preload is done by adding or removing the shims. To better explain the picture, the press pin is at the top followed by a large washer, a 1" pipe collar (placed over the axle shaft and onto the bearing inner race to press the bearing onto the axle, then the final drive casting and finally the bull gear
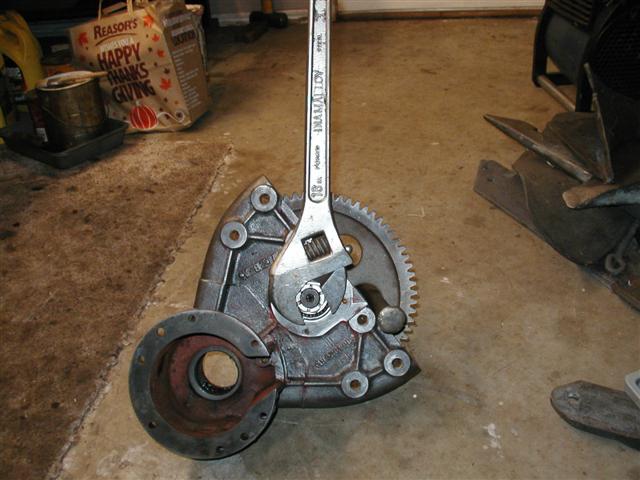
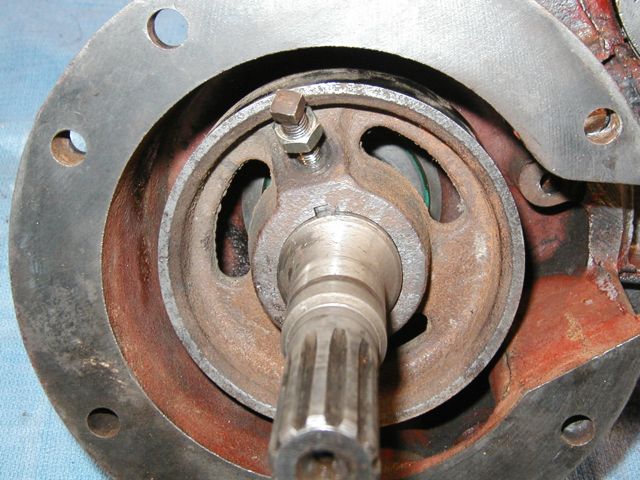
I then securely tightened the axle nut using the pictured wrench and a drift placed in one of the holes of the bull gear to keep the axle shaft from turning while tightening the nut. Don't forget the cotter key through the axle nut. I then installed the axle shaft cover and gasket, as well as bolting down the outer axle shaft oil seal retainer.
Repeated same for the other final.
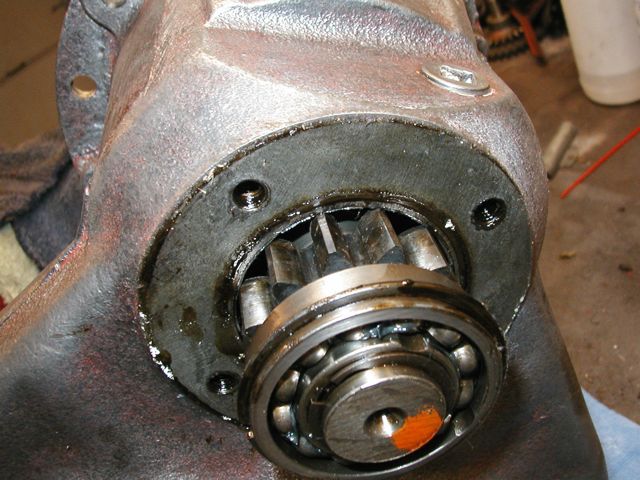
The next step was to install the differential drive shaft seal. I pressed it in using a seal driver from a Harbor Freight Seal and Bearing Race Driver Kit.
I then lubricated the seal and installed the differential drive shaft, gasket and cover.
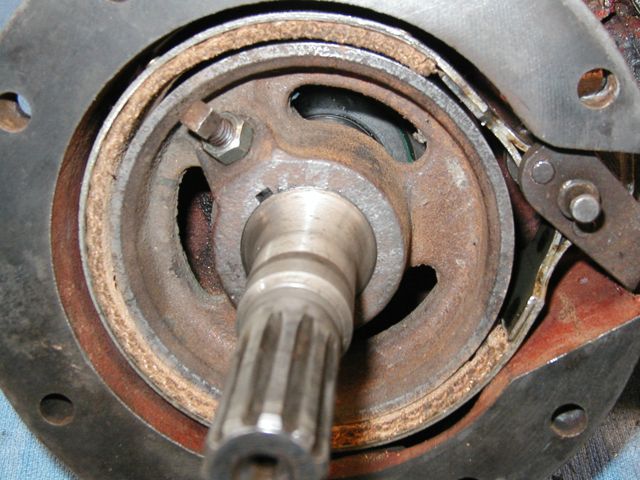
Next step was to install the woodruff key for the brake drum into the differential drive shaft.
I then installed the brake drum loosely to allow proper positioning relative to the brake band.
The next step was to install the brake band onto the brake toggle. This brake set up is the later "toggle" style and the band is installed using two pins that fit through loops in the brake band and are driven into the toggle to secure the brake band
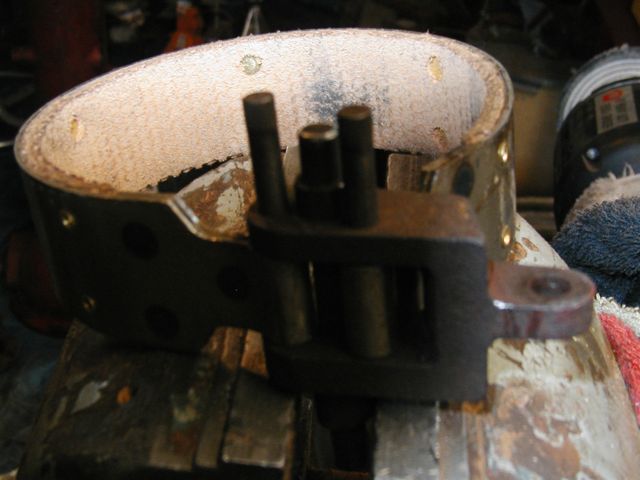
The final step is installing the brake band/toggle unit. PLEASE NOTE orientation of the toggle relative to its place in the final drive as it can be reversed and will be inoperative (don't ask
Adjust the positioning of the brake band relative to the drum and tighten down the brake drum lock bolt and lock nut.
Repeat the process for the other final and you are finished.

The above procedure was done on LoBoy final drives, so there may be some minor differences with the FCub finals. Also, these were completed with the aid of the Farmall Cub TC-37 Manual.
I did have to shave and tweak the brake bands to get a proper fit (made in Taiwan)
- Materials List:
- Gaskets - 3
- Seals - 2
- Bearings/races (if replacing) - 3
- Cotter key - 1
- Assembly Lube or comparable
- Shop press
- Bearing race and seal drivers
- Large bearing separator
- Torque wrenches - ft/lbs and inch/lbs
- Large wrench for axle nut
- 1/2 & 9/16" wrenches
- Pin punch or punch
- Small hammer
- Pliers
- Screwdriver

Central Hydraulics 20 Ton Shop Press


