After a short time into the lawn cutting on that fateful day, there was a bang and the tractor began running rough and was way down on power. Upon further investigation, it turned out that one of the connecting rods broke.

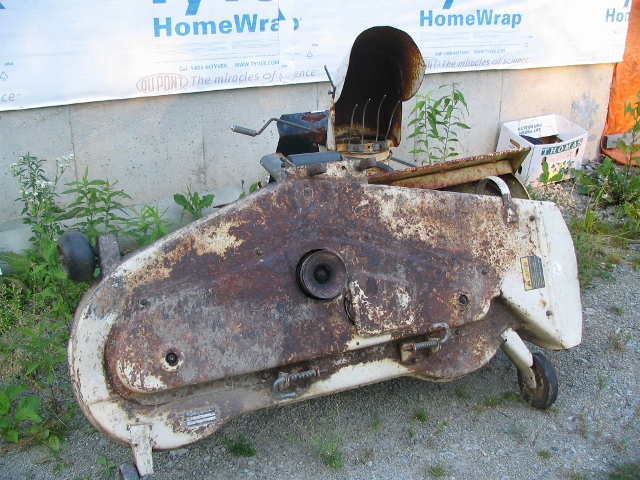
I have a large property and it usually takes me about 3-hours to mow it. It helps that I have the 52" deck on my tractor. While the tractor is down for a new engine, I am planning some repairs to the mower deck. It has a small rust hole in the top front of the deck. If you look carefully, you might be able to see a white circle scratched into the rust. My tractor's snow thrower is behind the mower deck.
The kit as it was shipped from the Small Engine Warehouse. SEW doesn't ship to Canada so I had to ship it to a friend's house in Buffalo. Luckily for me, he only lives about 20 minutes from my house.
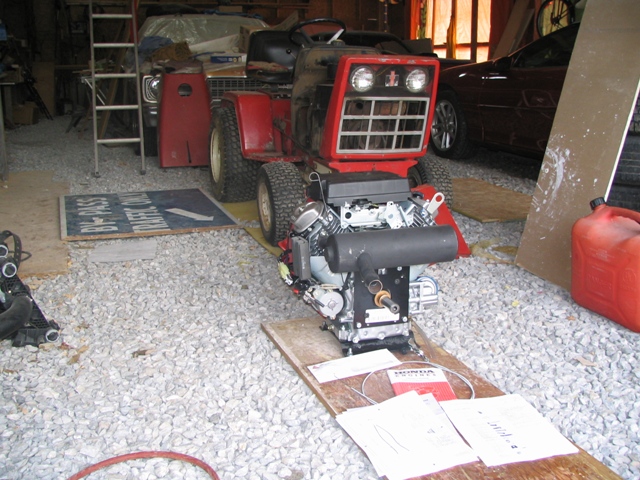
The engine just prior to removal. At this point, the driveshaft, fuel line, and cables were disconnected. It took me a little while to figure out that there was no need to remove all of the sheet-metal shrouding from the engine. I found that after removing the front grill and removing all 6 bolts from the engine support plate under the tractor, the engine could be lifted out quite easily.
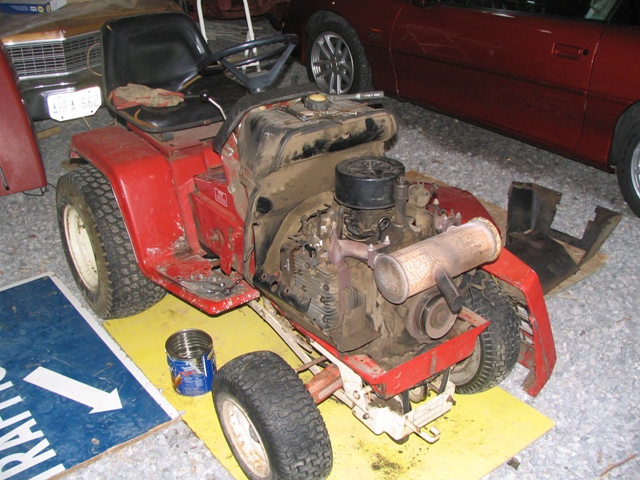
A Cub Cadet with no engine. Anyone need a spare Kohler KT8.5? Doesn't run half bad!

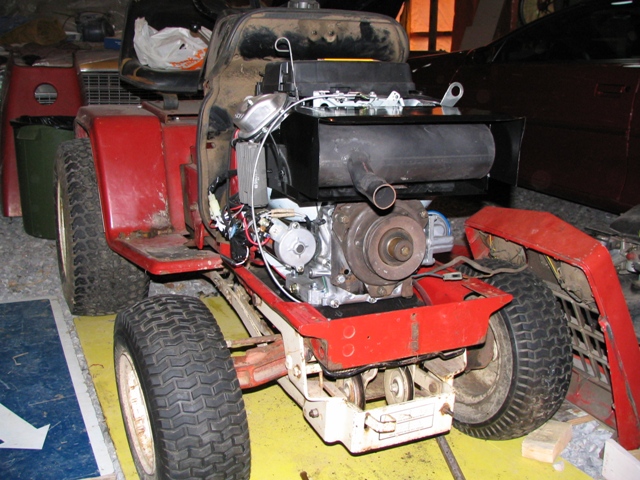
A Cub Cadet with a new Honda engine. The wiring harness was slightly damaged in shipping so I soldered in a new splice to make sure I have a good connection. I also found that the new throttle cable did not have threaded mounting holes so I had to thread them with a #10-24 tap. My fuel line is a bit too short (and showing its age) so I'm going to replace it.
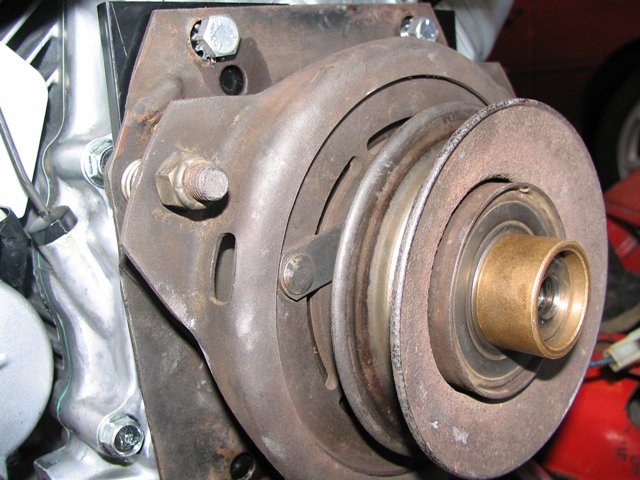
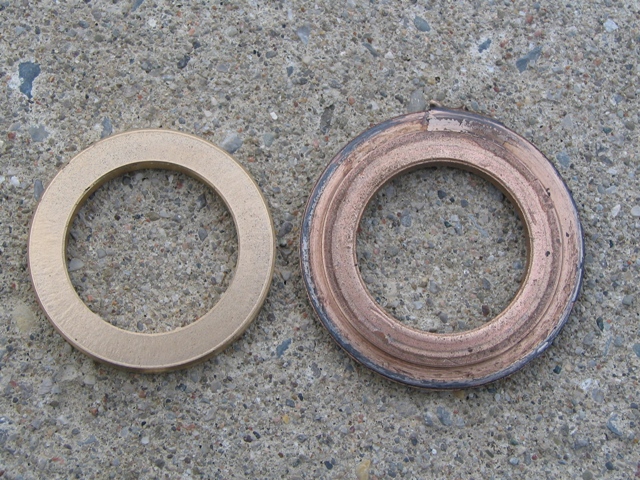
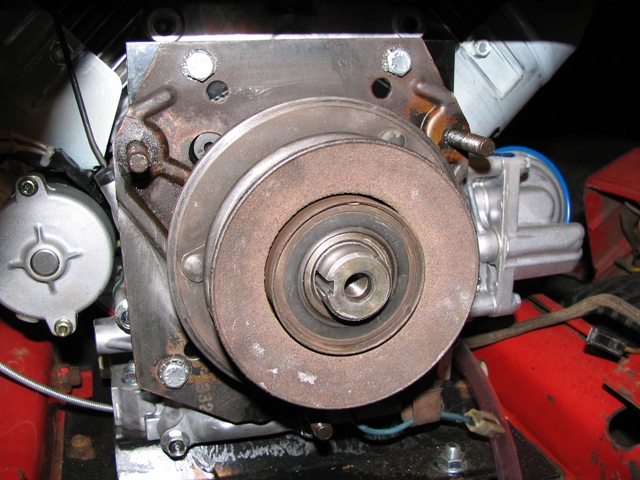
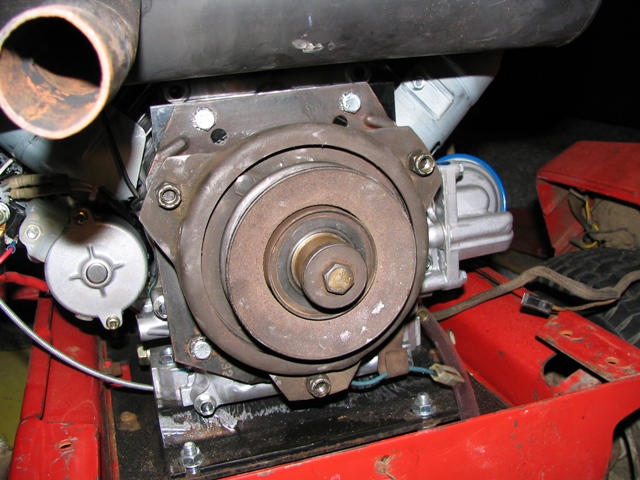
At this point, I'm trying to figure out how to remove the PTO from the front of the old engine. The PTO's innermost sleeve seems to be siezed onto the engine's output shaft. I've already sprayed it with penetrating oil and tried to work it off but I just can't get it to budge. Does anyone have any ideas as to how I can get this off?
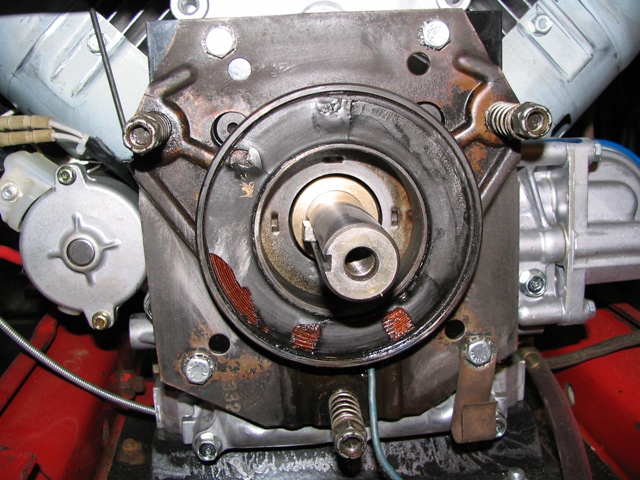
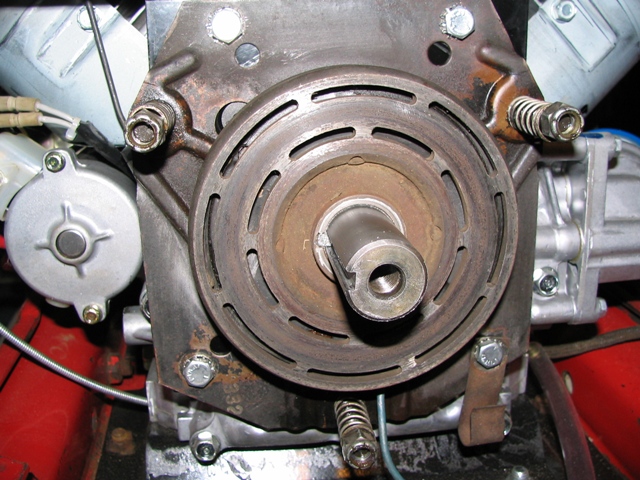
I once I get the PTO mounted, I will have to figure how to properly line up the engine.
Here is a link to it http://www.raso.name/index.php/equipmen ... repowering