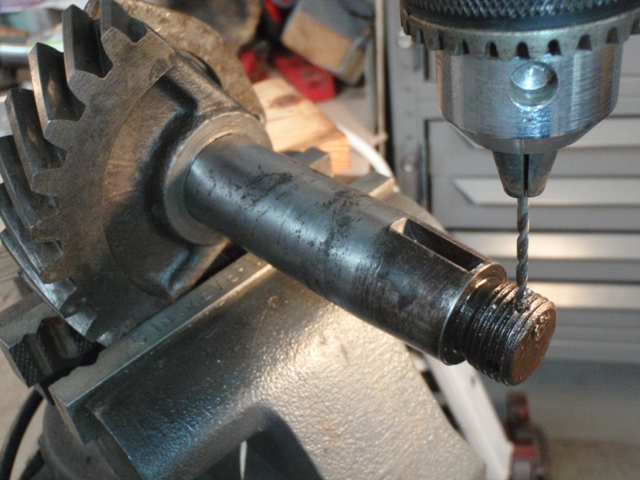
I took the flywheel to a machine shop and had it turned…oooo…looks so purdy!
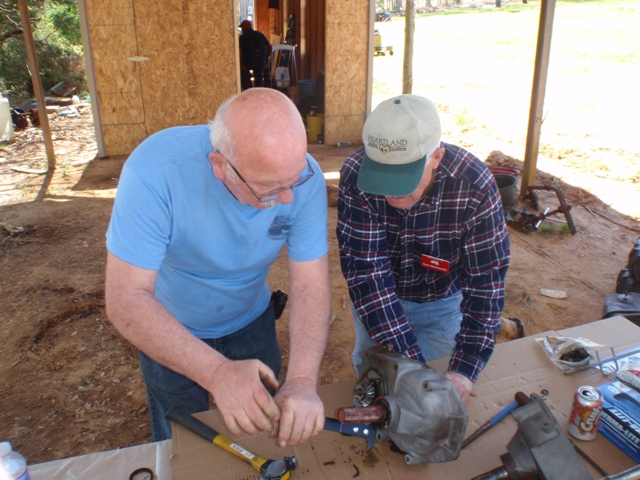
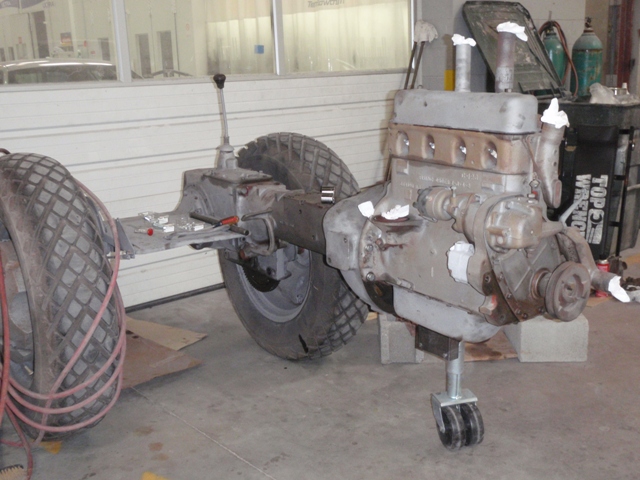
Put the flywheel and clutch back on, then installed the engine with only a few grunts! I had already replaced the throwout bearing and even remembered to grease it a tad before putting the engine on. Having the starter off made it pretty easy to align the shaft plus I used a couple extra long bolts to help with the initial alignment of the engine.
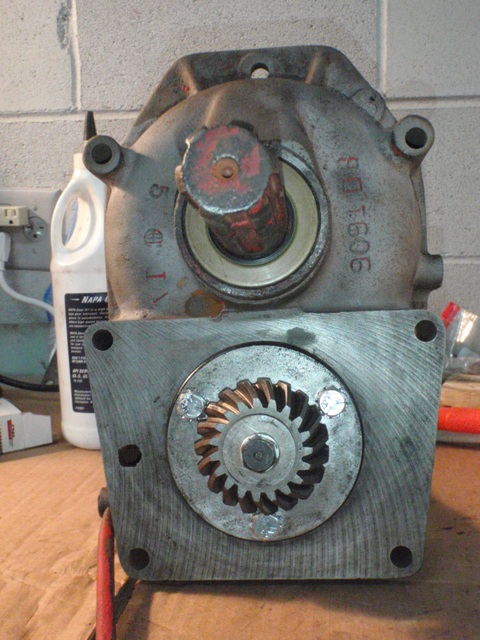
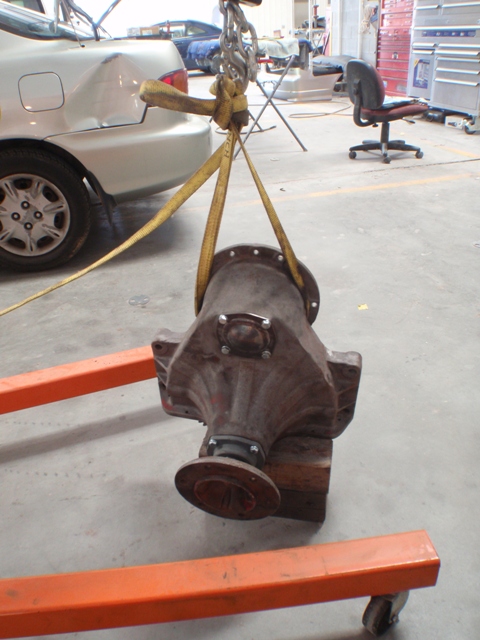
The next large job is to swap the left final drive with the one on the parts SA, since it has been repaired in the past, the spare is better, and I need to replace some seals anyway. THAT should keep me busy for a while, since I am doing all this by myself. Thank goodness for a nice shop to work in and a borrowed hoist!! (There certainly are times where being female strength-wise is a disadvantage)
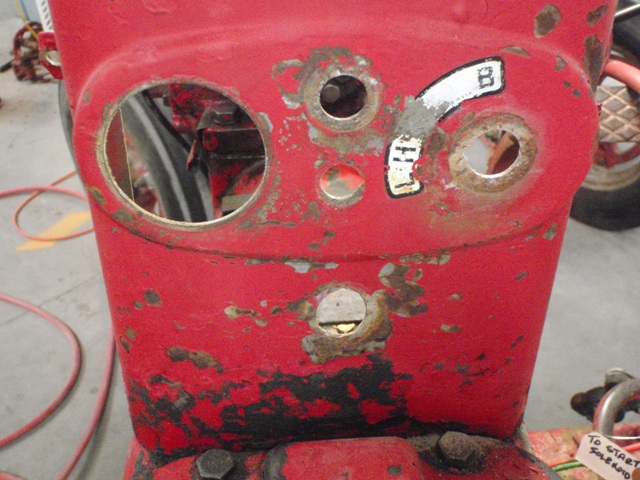
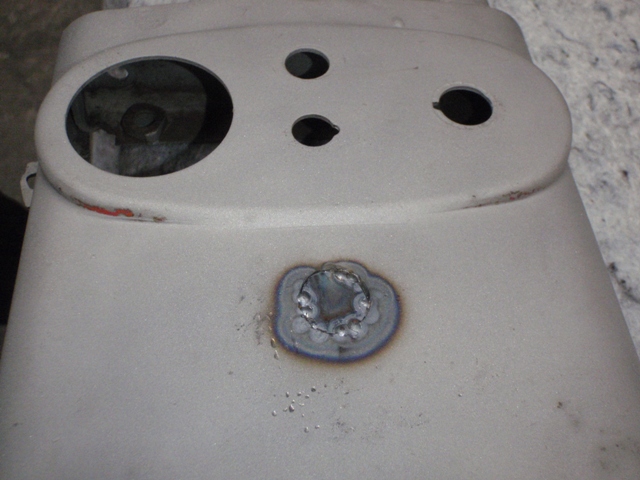
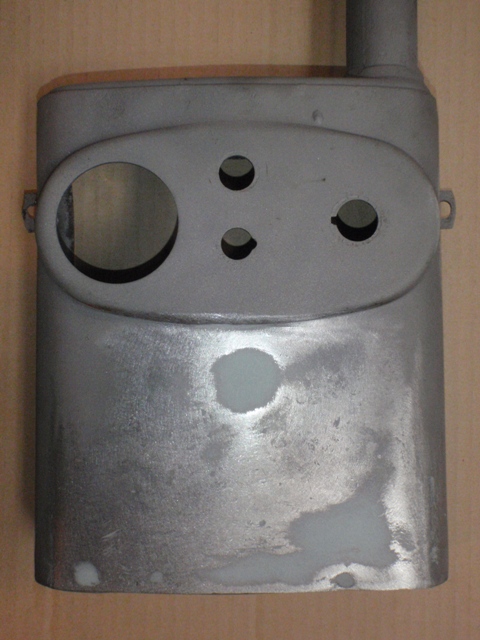
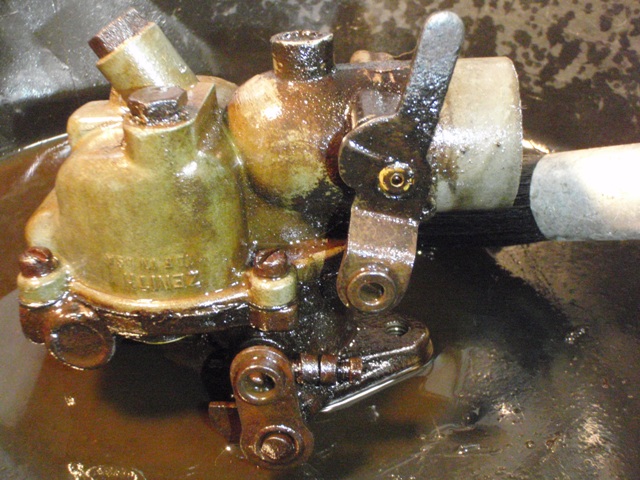
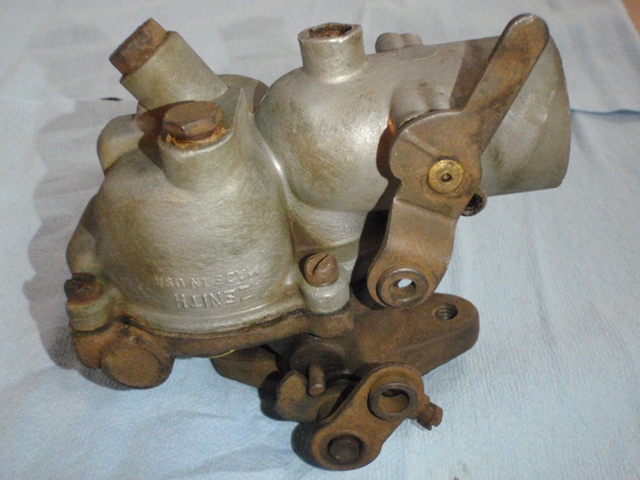
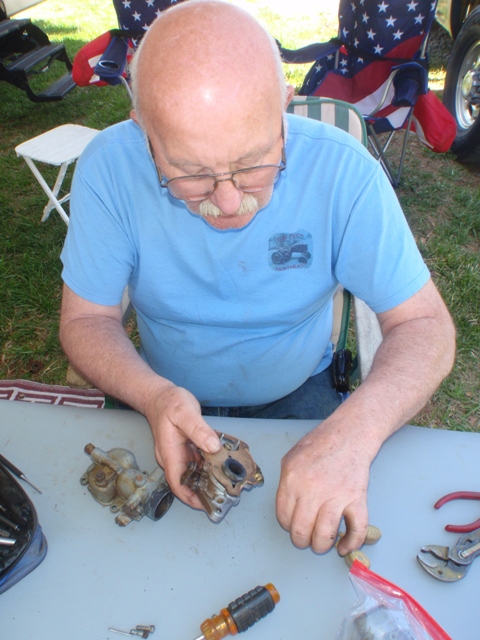
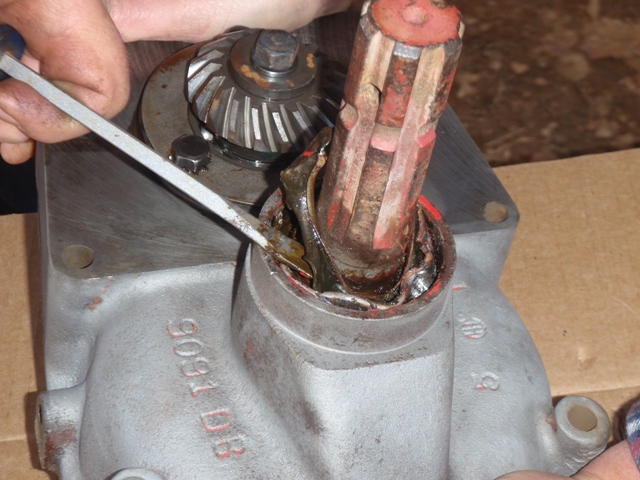
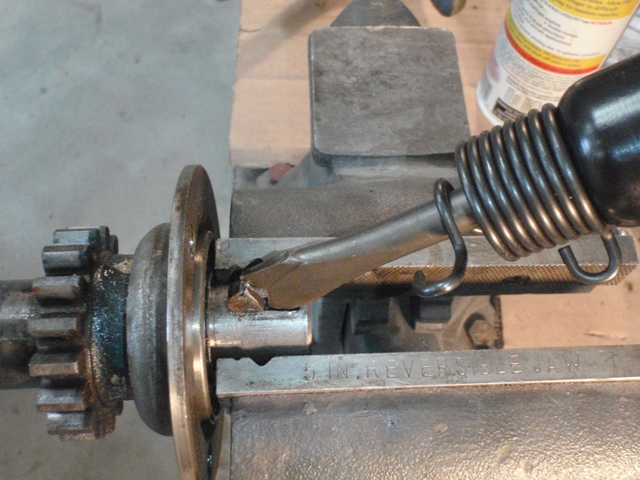
I still have a bit more sandblasting to do of some small items, and numerous repairs to do on some sheet metal (will be getting help with some of that). Also some repair kits to order…Touch Control, tune-up stuff, front wheel stuff, etc. I will probably pull the governor for jollies, especially after reading the recent post about the broken spring. Why not? It’s REALLY easy without ANYTHING attached to the engine!!
Dale #2