http://www.cleancomputes.com/Cub/Super% ... index.html
I had already ordered parts #26 & 27, pg. 166, the gasket and seal, from my local IH dealer.
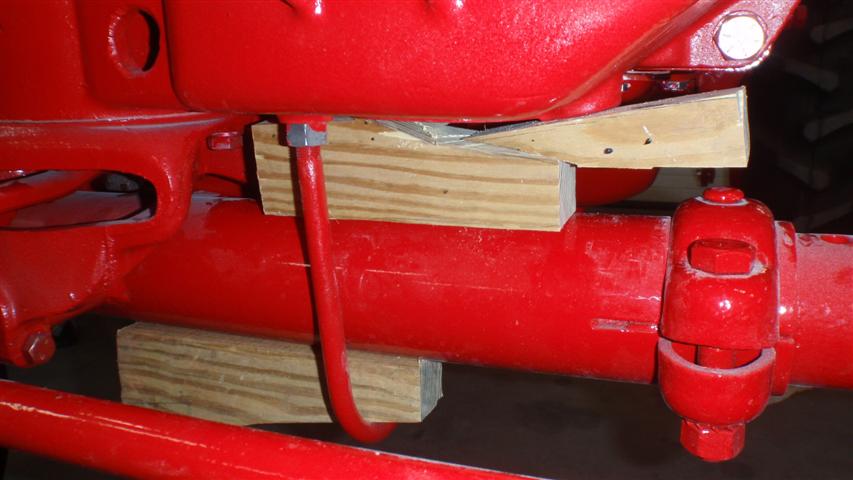
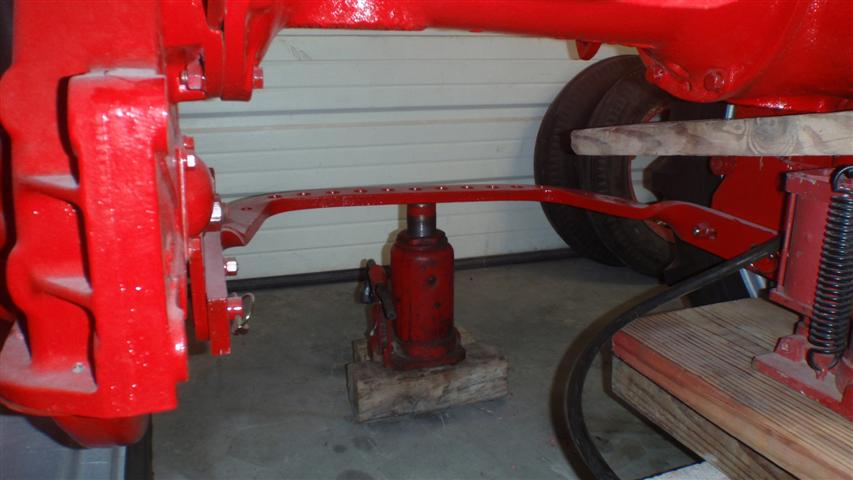
Block the front axle:
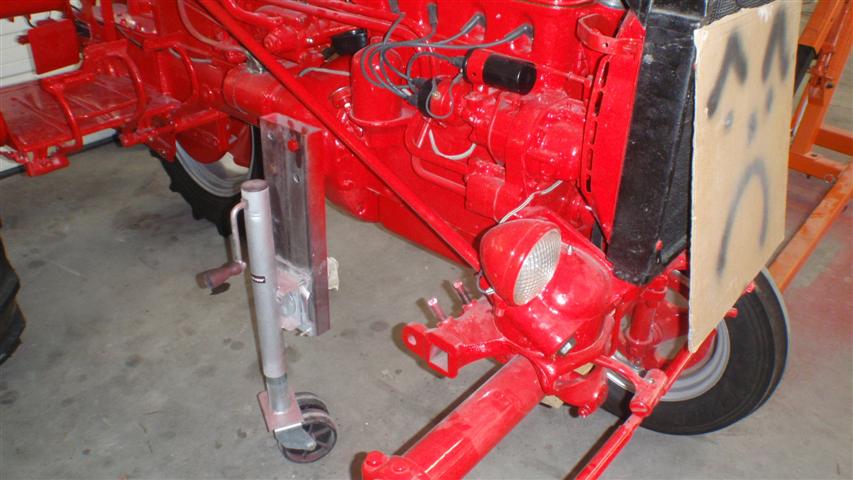
I used a jack stand to support the front half:
Remove platform bolts and disconnect brake rods:
I disconnected the clutch pedal (#18, pg. 163), but as it turns out, it was not necessary, though it did allow better cleaning:
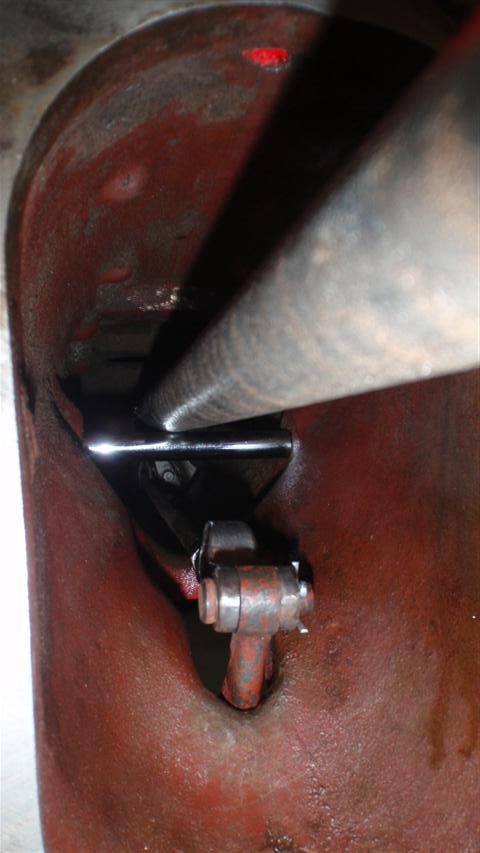
Remove rockshaft rod.
Disconnect taillight wire.
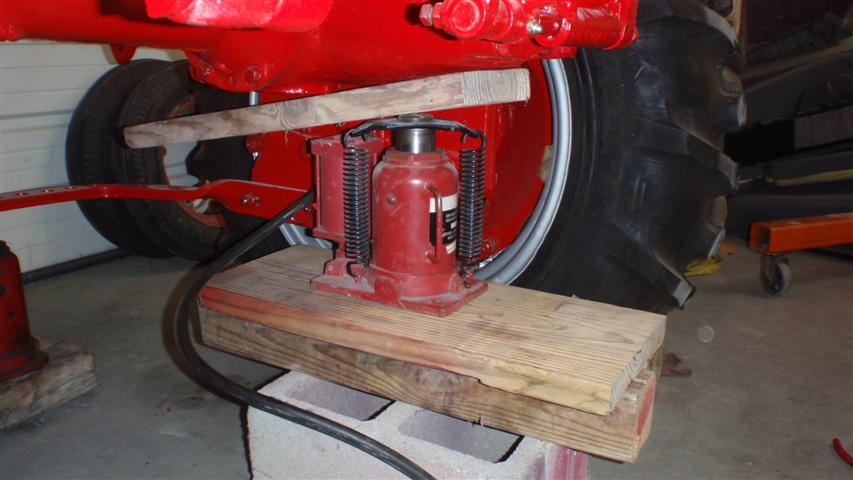
Block drawbar and under transmission to keep from tipping in either direction:
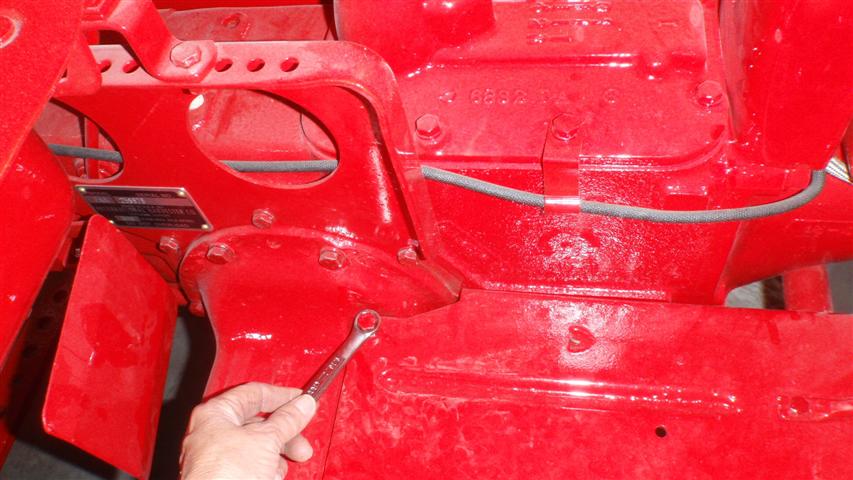
Remove the 4 clutch housing-to-transmission bolts.
Loosen right fender bolts to allow the platform to move forward without scratching.
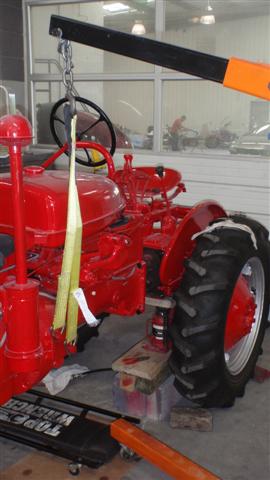
As separation began, I pried apart at the dowels, but as it separated, I realized the front half wanted to roll slightly to the left with the jack stand attached to the implement holes on the right. Wedges must not have been jammed in hard enough. I quickly attached the engine hoist to the left implement bolts:
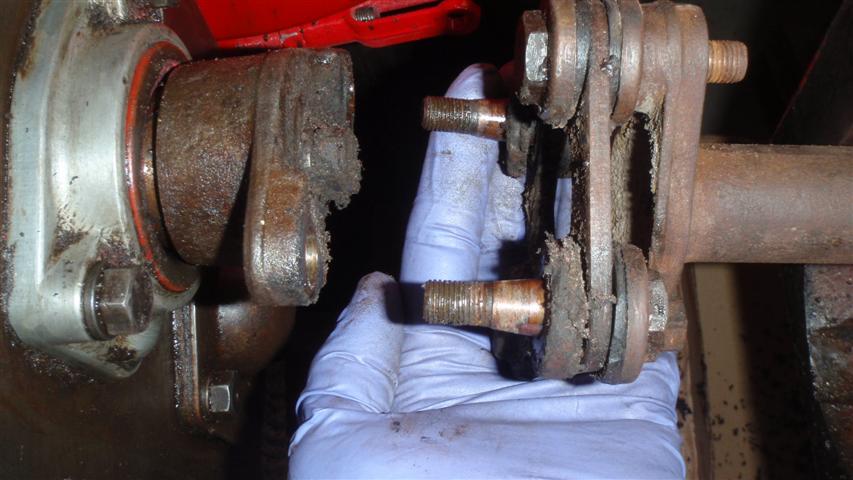
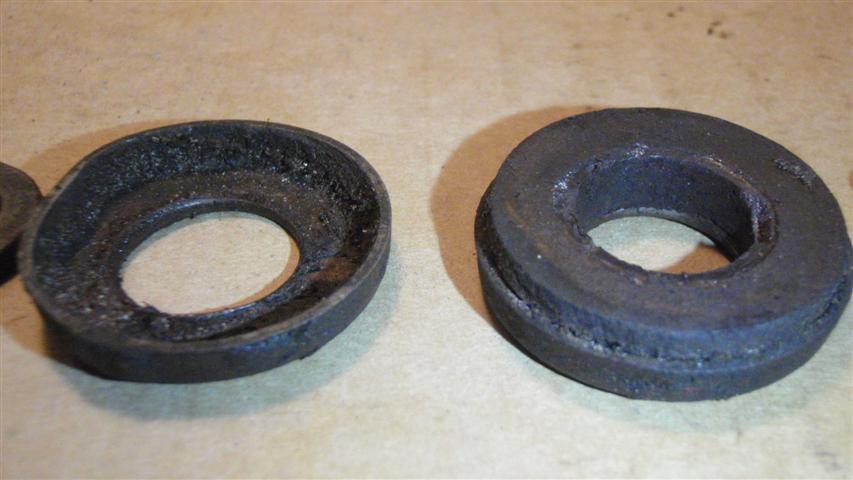
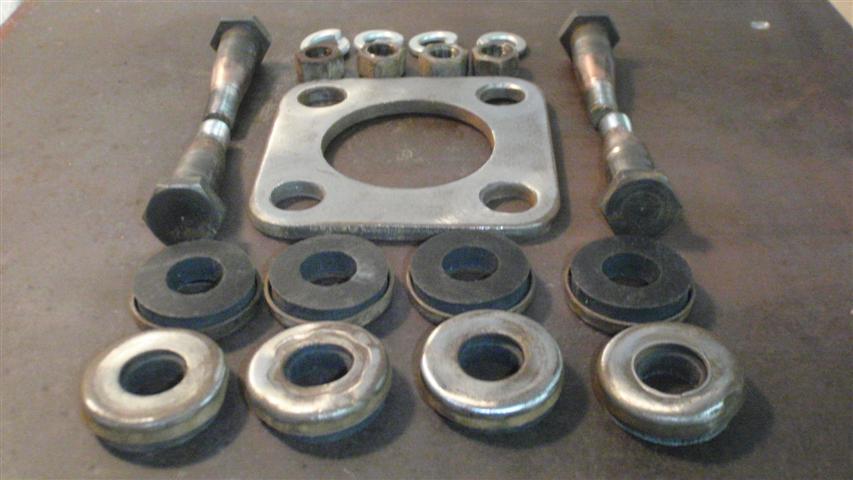
Disassemble the clutch drive shaft joint disc (#15, pg. 163) and remove & inspect the rubber washers (#14, pg. 163):
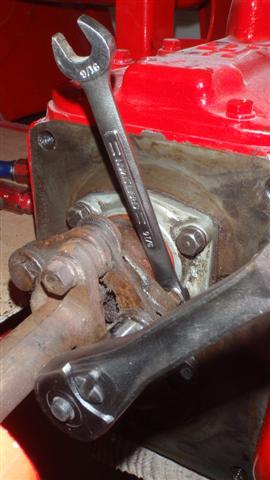

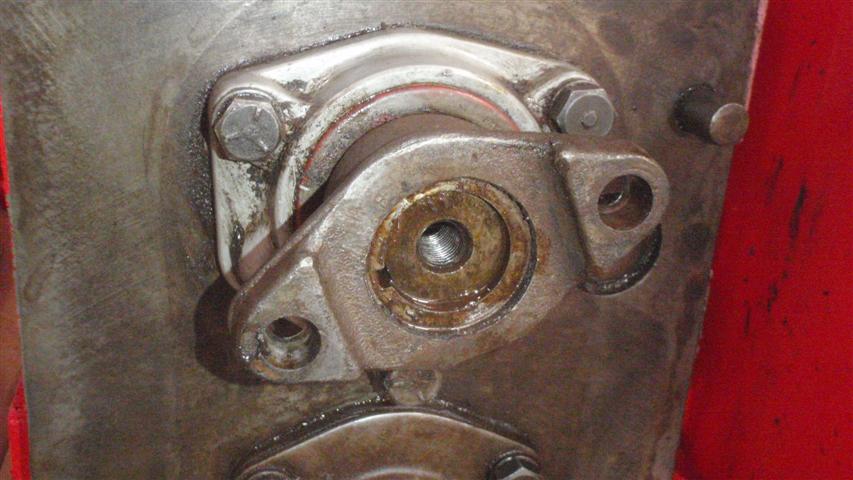
Using an impact wrench and punch to prevent rotation, remove bolt, lockwasher, large flat washer and gasket in the end of the transmission spline shaft:
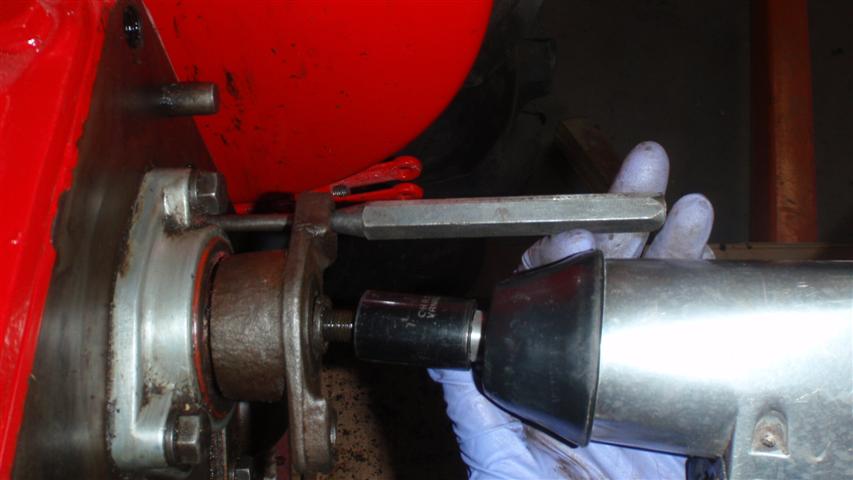
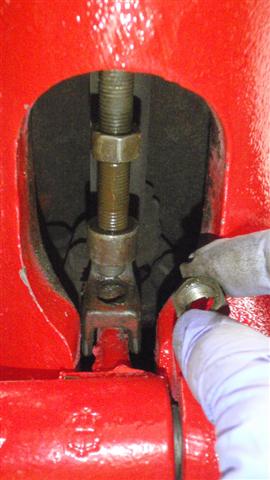
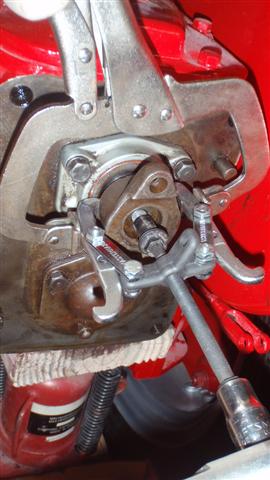
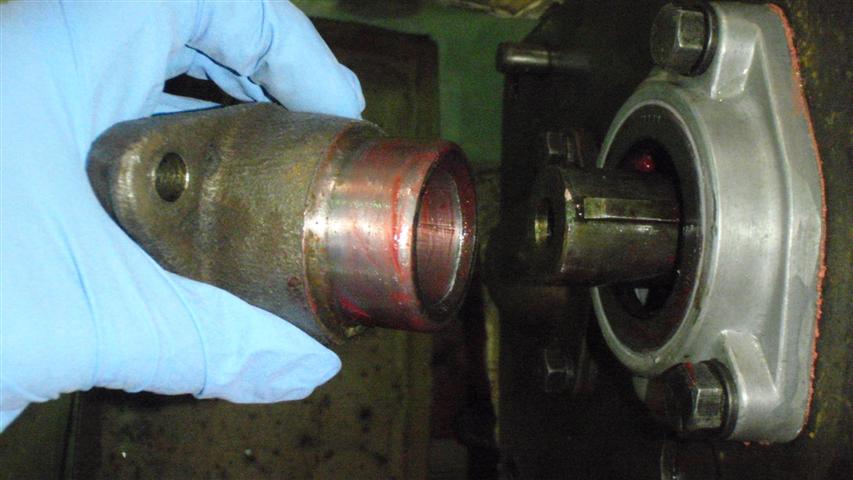
Using some sort of puller, remove the transmission drive flange (#30, pg 166). I used this setup with pulley puller, vice grips to hold the puller arms in place:
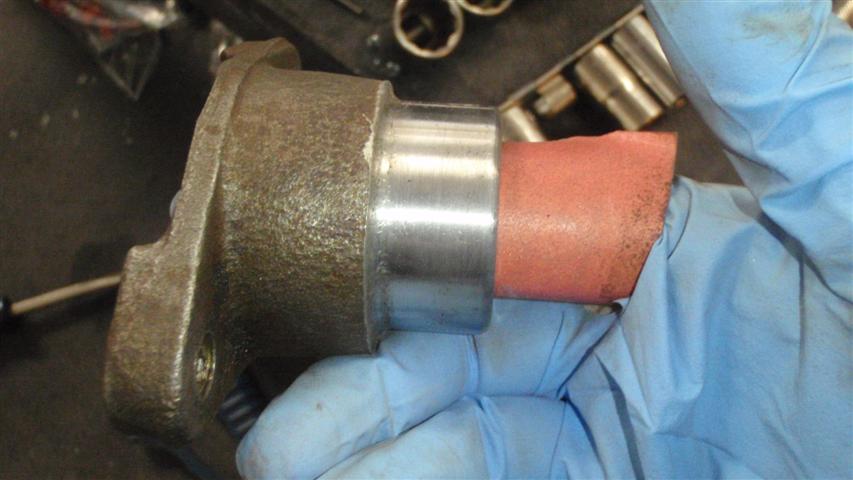
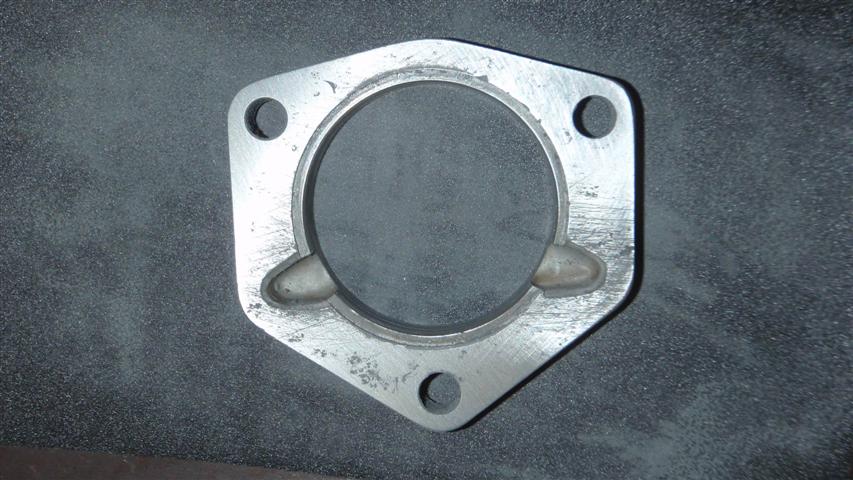
Clean and inspect flange, ensuring all mating surfaces are free of burrs:
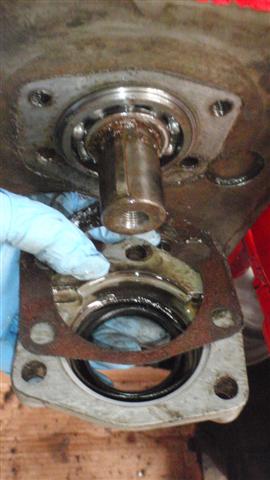
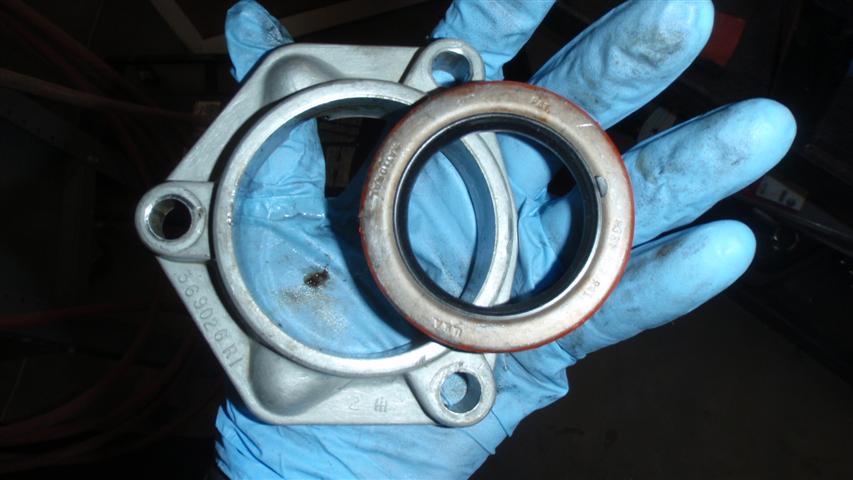
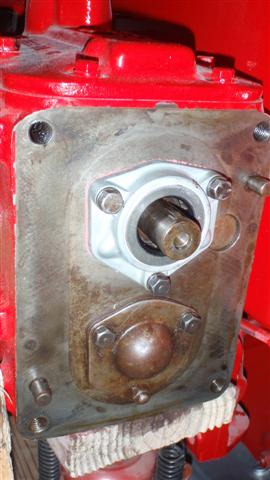
Remove bearing retainer (#28, pg 166) and gasket. Inspect bearing and replace if necessary. (Mine was good so left it in place):
Press out seal from bearing retainer and clean/polish the seat area to remove any imperfections. Also sand/polish the retainer’s flat side to ensure a good seal with the gasket:
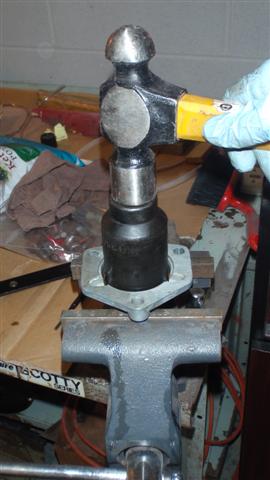
Press in new seal. (Mine seemed to be going in too easily, so I applied a good sealant around the outside edge before pressing it in):
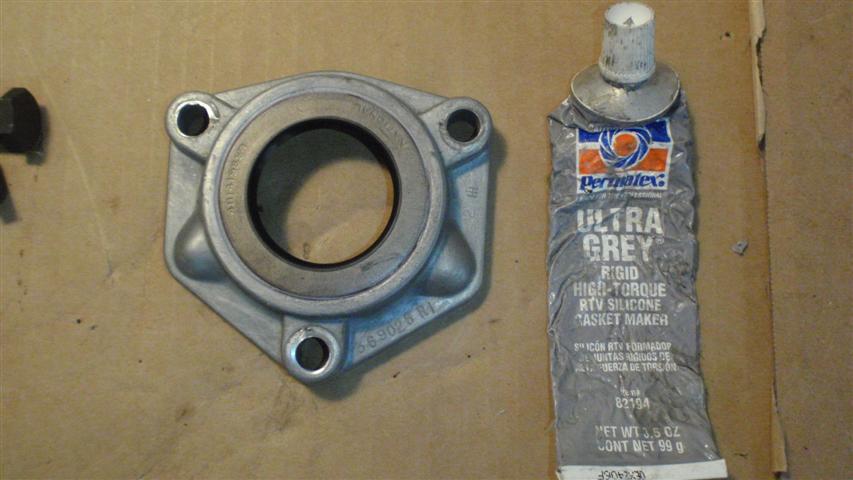
Install new gasket (I used sealant on this gasket) and reinstall bearing retainer:
Grease flange mating surfaces, including the seal lip, line up the key, then drive flange in place. (I used an impact socket to avoid damaging the flange):
Prior to reassembly, clean all bolt holes, dowels, and grease the splined clutch end of the shaft.
Reattached the clutch pedal to its shaft.
Reassemble the clutch drive shaft joint, using new washers if available:
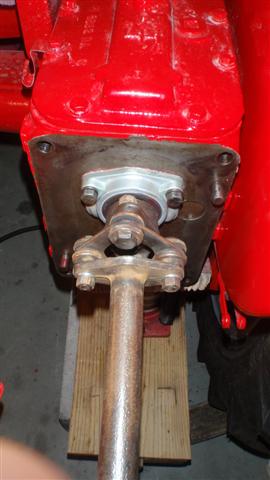
Insert drive shaft into housing (I used a long prybar inserted through the two threaded holes to hold it up during reassembly):
Protect fenders with some material and tie up the rear of the platform.
During reassembly, when the shaft hits the hole behind the TOB, from the rear pry up the shaft the ~1” further to allow it to enter.
When the shaft hits the “clutch hole”, reach through the handhole and line up the splines then bump the shaft to make that final alignment. The 2 halves will be a couple inches apart at this point. Using 2 extra long bolts in diagonally opposite holes PULL the 2 halves together.
When close enough, install 2 correct bolts and continue to draw closed. Remove the 2 long bolts and complete assembly.
Reattach platform, brake rods, and retighten the right fender bolts.
Check clutch adjustment, crank him/her up, and check for function and leaks!
Hope this made sense, and any corrections/comments would be appreciated...although, if I actually did something wrong, it's too late for me now!!!! GOOD LUCK!